Setting Up Your Apple Mail Client
1. Open
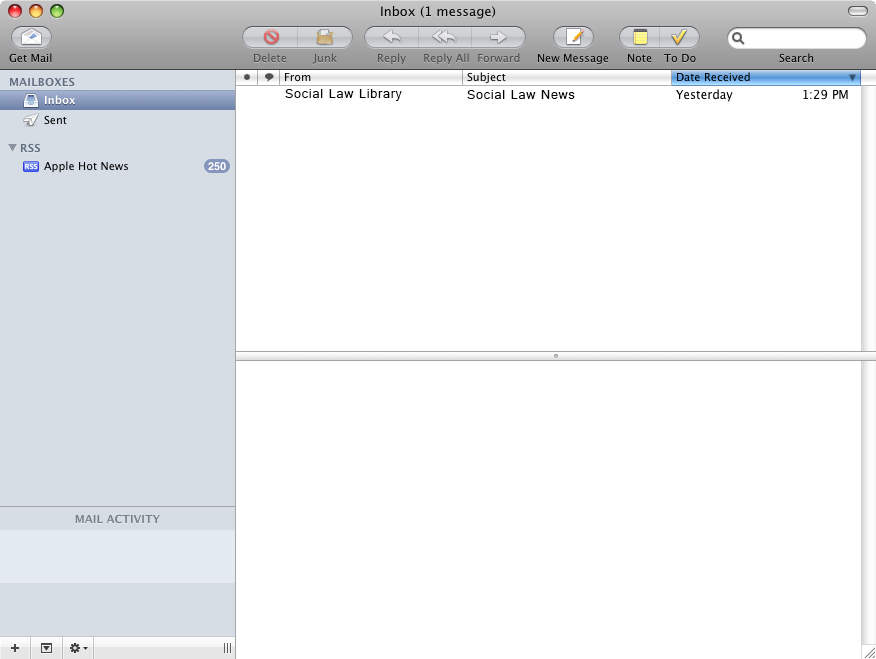
Finder and launch the
Mail application.
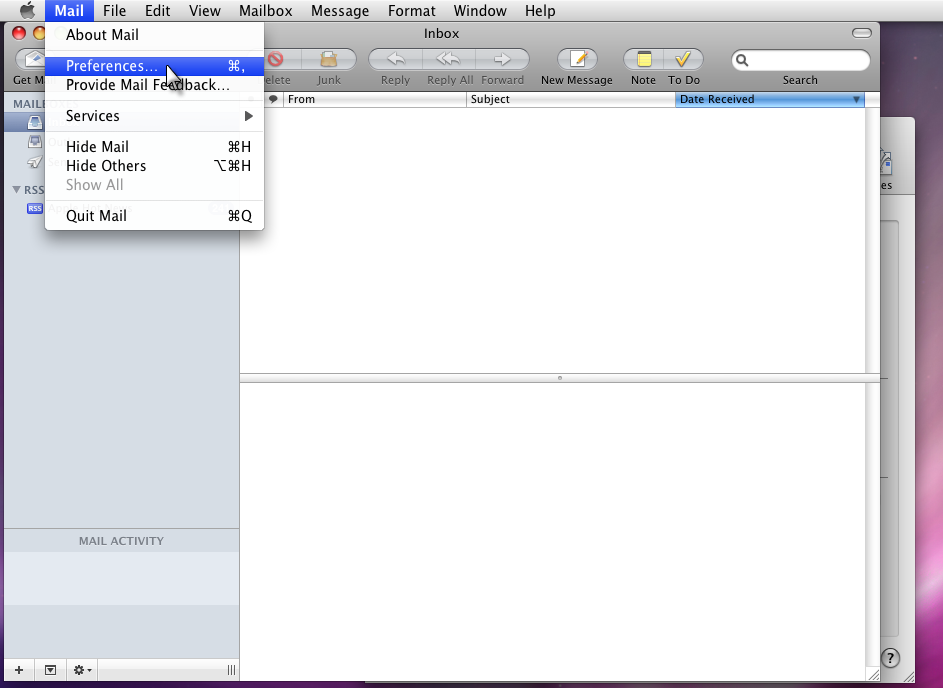
2. Left click on the "Mail" Menu Bar.
3. Left click on the "Preferences" Menu Item.
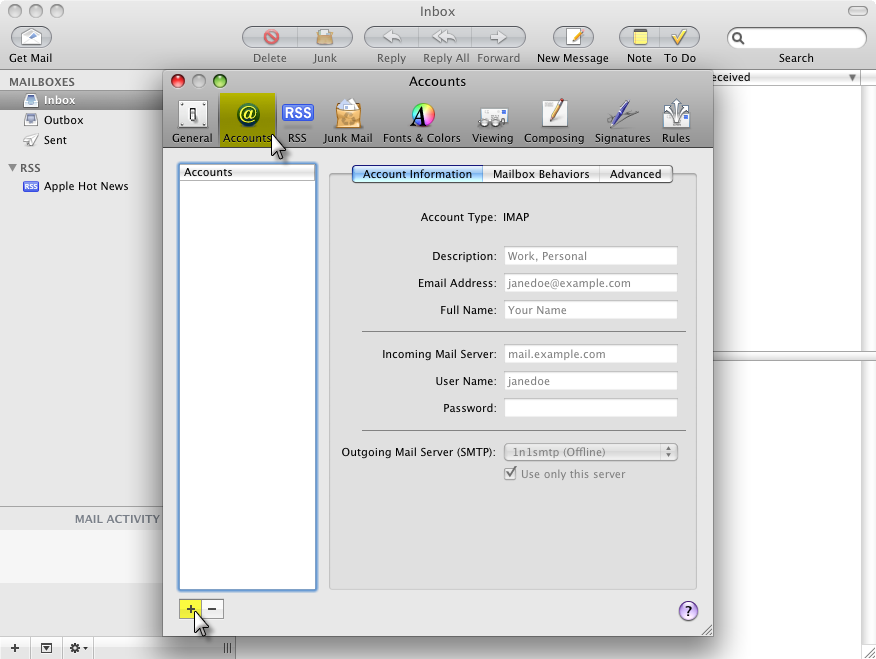
4. Left click the "Accounts" icon at the top of the window.
5. Left click the plus sign (+) at the bottom-left of the window to add an account.
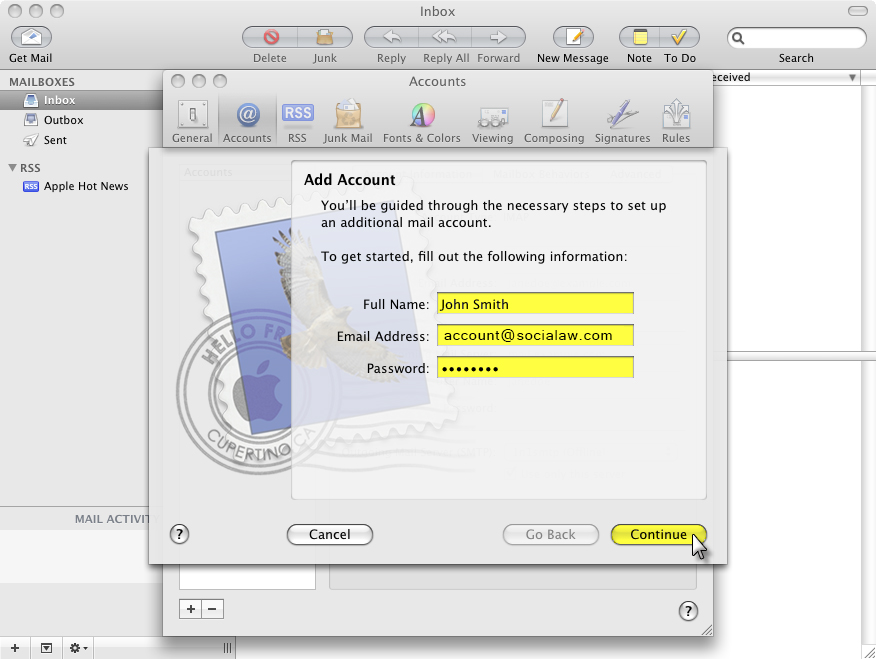
6. Enter your Full Name, Email Address and Password. Click the Continue button.
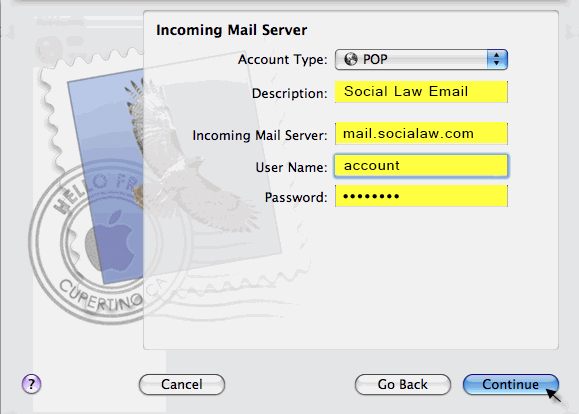
7. From the Account Type drop-down menu, select "POP." Provide a description, such as "Social Law Email." Enter "mail.socialaw.com" for incoming mail. Enter your user name and password, then click continue.
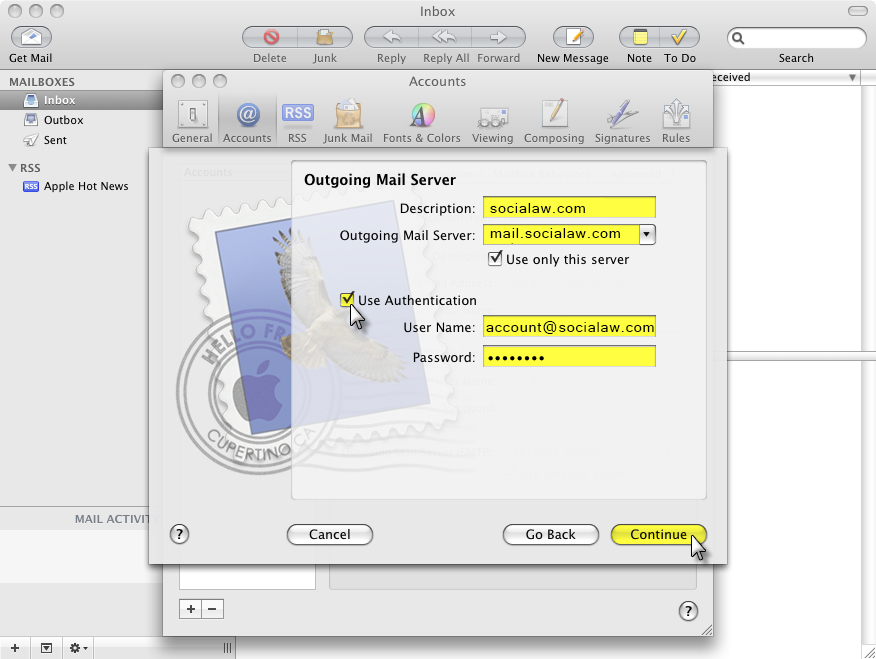
8. Enter a description, such as "socialaw.com." Enter "mail.socialaw.com" as the outgoing mail server, and select the "Use only this server" box.
9. Check the "Use authentication box." Enter your user name and email address. Click continue.
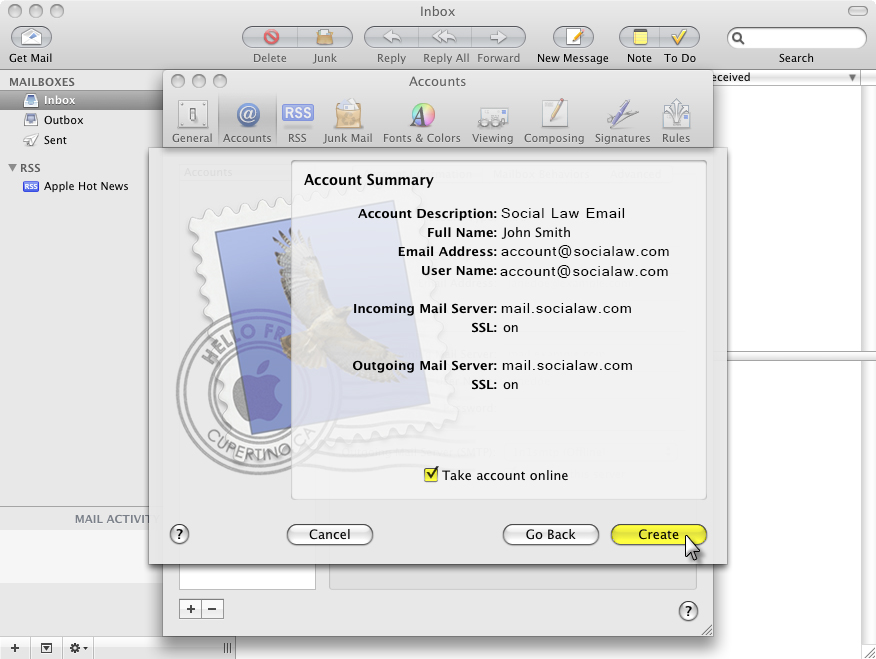
10. Review the information entered on the the Account Summary page. If all information is correct, check the box for "Take account online" and click the "Create" button.
11. Close the Accounts window.
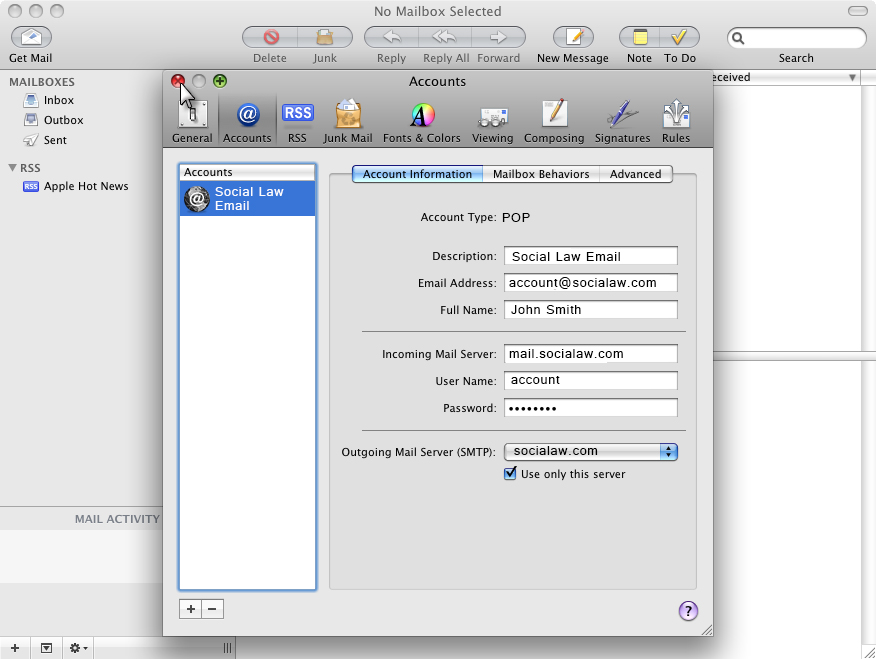
12. Your mail should be downloaded and displayed in the Mail window.
